
Super Easy Stovetop Irish Soda Bread

Photo by Anna Church on Unsplash
First off I’d like to wish everyone a happy St. Patrick’s Day! When I originally had the idea of writing this post I was planning to frame it in a lighthearted way and present you with an idea for a last-minute St. Patty’s Day recipe that you can make with ingredients you already have at home. Two things happened. I ran out of time and rushed to come up with a recipe, and the rapidly changing situation surrounding the new Coronavirus disease has stripped grocery store shelves of many staple items such as bread, eggs, and milk.
My first thought was to scrap the post and save it for next year so that I could have time to really perfect the recipe. However, after visiting the grocery store and seeing how much folks are preparing to stay home for extended periods of time I decided to share my first cut at this recipe. If you were one of the unlucky ones (like me) who was unable to score bread or eggs, this recipe can help you get your bread fix and only requires a few ingredients that you likely already have at home.
There are plenty of soda bread recipes out there that include anywhere from four ingredients to ones touted as easy that create a dough made of nearly a dozen items. My recipe is closer to the four ingredient variety, but due to the lack of availability of regular milk (not to mention buttermilk, which really makes this bread), there are a few hacks.
Before we get started, let’s make sure you do have all of the ingredients needed to create a loaf. The following are the four ingredients needed to make this version or Irish soda bread:
Flour. Fingers crossed, you have flour at home. I had just enough to make this recipe and was able to score one of the last bags at the store so that I can try a couple more times.
Salt. If you don’t have salt at home what are you doing trying to cook anything? Put on all of your rain gear, write “can I borrow some salt?” on a slip of paper, run to your neighbor’s house, hold your breath, and use your elbow to ring the doorbell. Kidding. Please don’t do that. Be safe and just don’t use salt. The Italians don’t salt their bread and it’s fine. Just slather it with salted butter when it’s time to chow down.
Baking Soda. This is another “I hope you have it” item. If you don’t have it in your pantry please, please don’t go for the box in your fridge. Just don’t. We can fix this. Do you have baking powder? Baking powder is a combo of baking soda and cream of tartar. Use three to four times as much baking powder as you would baking soda, just know that you’re also getting that tart cream of tartar along with it. It’ll definitely change the flavor and you might want to consider cutting the amount of salt in half.
Buttermilk. It would be weird if you did have this at home. I have never ever bought buttermilk for anything. I always use a hack that involves adding a tablespoon of vinegar to a cup of milk and letting it sit for about 5 minutes. This slightly curdles the milk and gives is the sour note of buttermilk essential for the flavor of Irish soda bread. If you’re like me though you didn’t grab any milk before seeing a cart full of the last 25 gallons speed its way to the checkout line. For me though the half and half section seemed relatively unscathed, so that’s what I used. Plus, we use it in our coffee, so no harm in having a little more on hand. I just cut it with a little water to make milk.
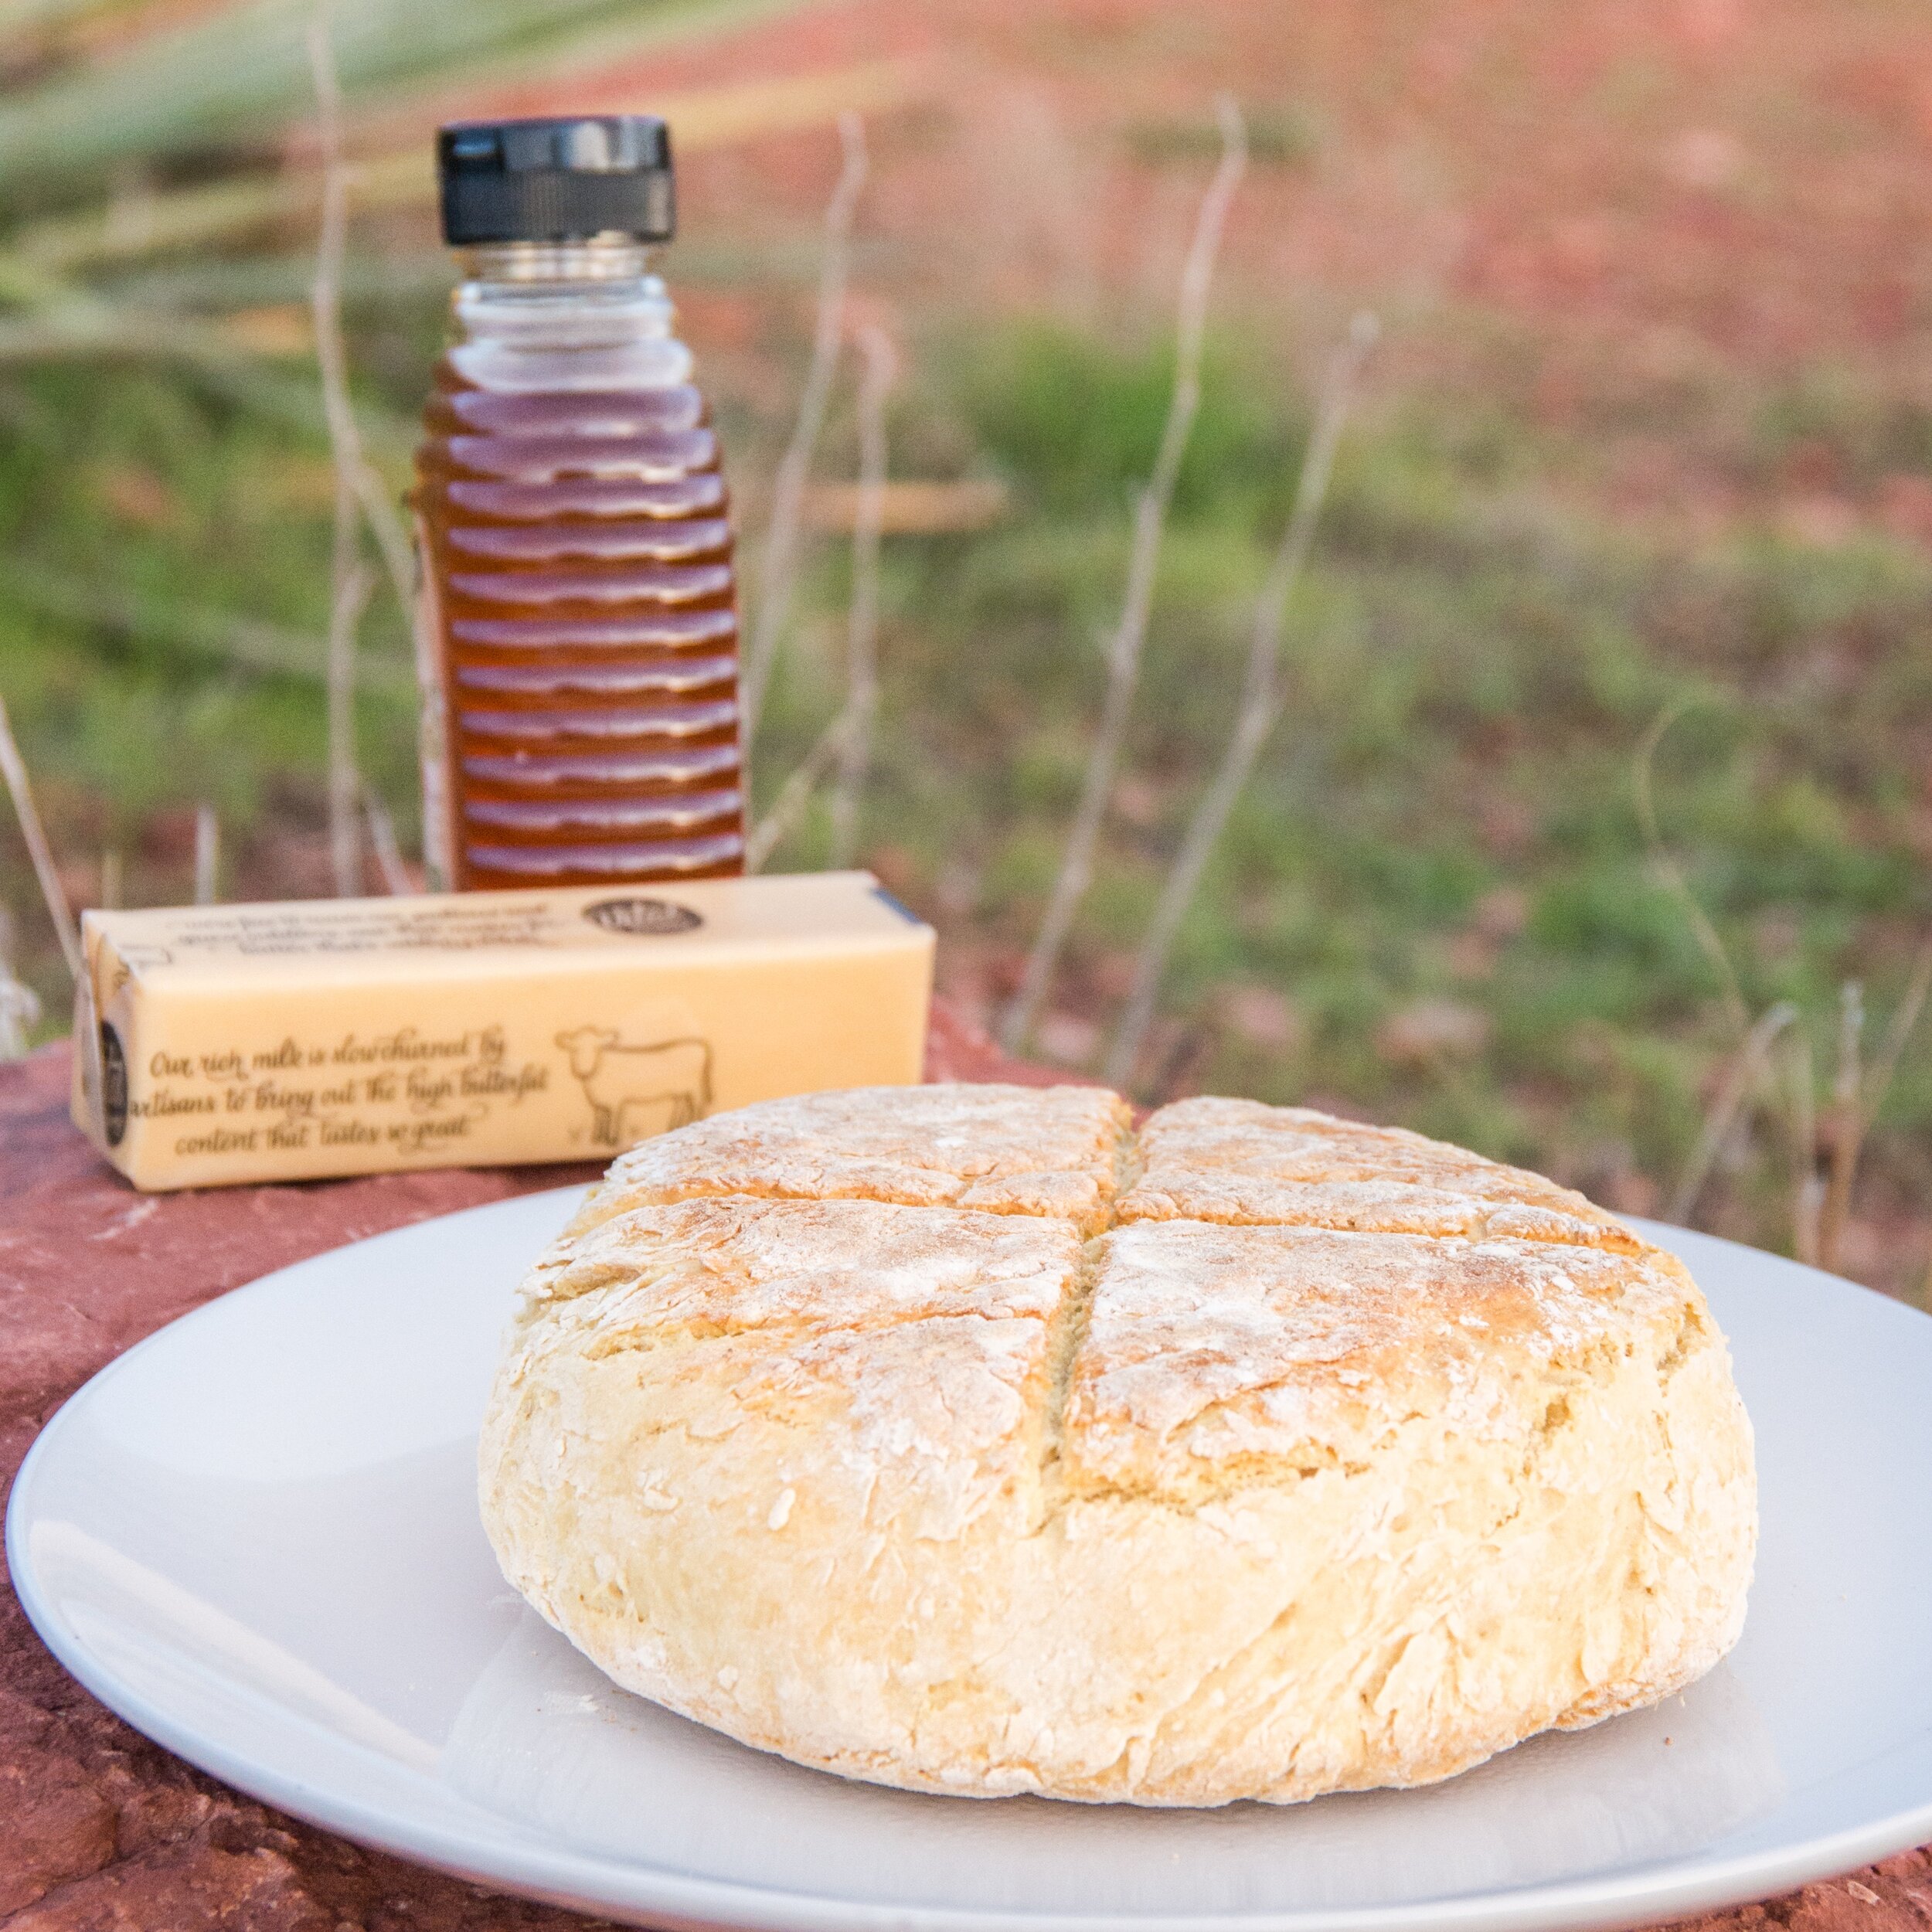
Super Easy Stovetop Irish Soda Bread (Served with Butter and Honey)
Now that you have gathered the requisite ingredients it’s time to get started.
Ingredients
2.5 cups flour
1.5 tsp kosher salt (less if using table salt)
1 tsp baking soda
2/3 cup half and half
1/3 cup water
1 tbsp white or apple cider vinegar
Directions
In a small bowl or measuring cup mix together the half and half, water, and vinegar. Let the mixture sit for about 5 minutes, stirring occasionally.
Preheat a large skillet on low to medium low heat.
In a large bowl combine the dry ingredients. Make a well in the center and add about 3/4 of the milk mixture (a.k.a. buttermilk). Mix to combine, adding more buttermilk if needed to help everything come together. The dough should be slightly sticky and a little rough.
Turn the dough out onto a floured surface and knead a few times to create a dough ball.
Shape into an approximately 1-inch-thick disk and use a sharp knife to cut an X into the tip of the dough. The diameter of the disk should be about 1 to 2 inches smaller than the skillet so that you can get in there and easily flip it.
Sprinkle a small amount of flour into the center of the skillet and place the dough disk in the pan, X side up.
Let the dough cook on one side for about 10 minutes, uncovered, making sure not to burn the bottom. Flip and cook another 10 minutes uncovered.
Flip the loaf again and cover the pan. On as low as the heat will go cook for another 5 to 10 minutes. Flip a final time and cook covered another 5 to 10 minutes. When it’s done the loaf should be crispy and golden brown on both sides, hard(ish) on the sides, and have a hollow sound when you knock on it.
Enjoy slices with butter, honey, or jam. The fresh loaf will have crisp outer edges and a moist, dense center. Store covered at room temperature. On the second day the edges will be less crisp, making the whole thing almost more delicious. After day two it’ll get a little stale, so eat it up!
Note
This recipe is being specifically developed for the stove top so that it can be made on the road. If you have an oven at home (and the desire to use it), just pre-heat the oven to 400 degrees and bake on a greased baking sheet for about 30 to 40 minutes. Shape the dough more like a half sphere (still cutting an X in the top), and cover with foil if it starts to brown too much.